Pompom Wilderness

FASHION | FOOD | CITY LIFE

Powered by Blogger.


The editing process of my Instagram photos is really not that long... 
which is a great thing, because my patience also, humorously, doesn't last all that long either!

I have received many comments on instagram about the apps I use, the filters and the exposure to which I edit my photos with, so I thought, why not just post a step by step tutorial here!?

So if you are interested in how I edit, then just keep on reading!
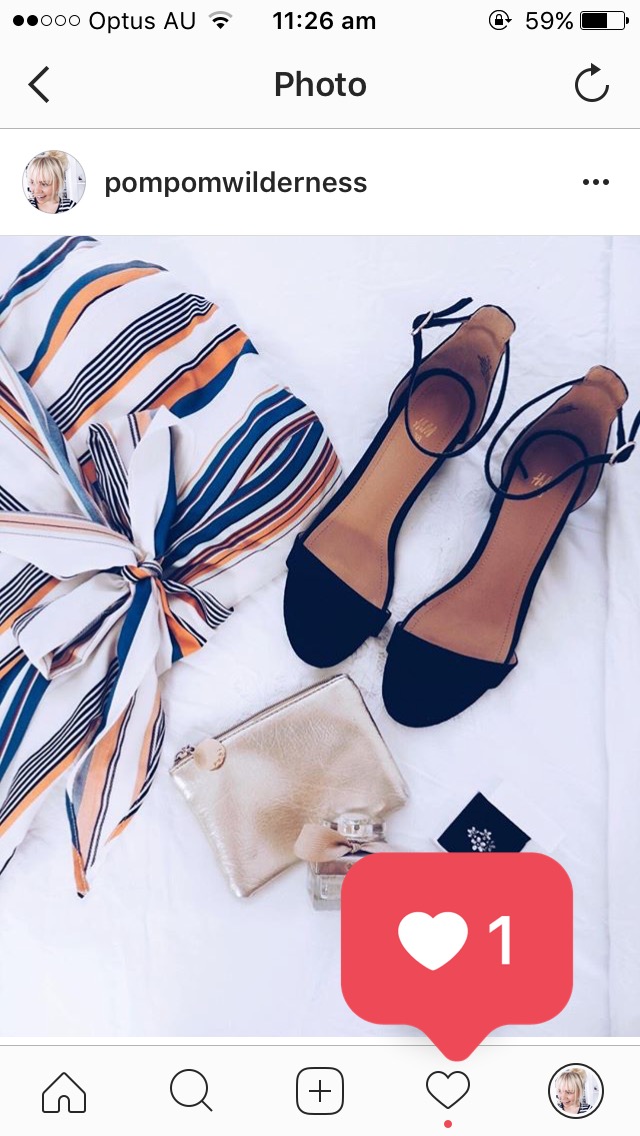

1.          TAKE THE PHOTO


 Possibly the most obvious step, yet still the most crucial :P 

I take half of my photos on my I-phone 6S, and the rest on my Nikon Coolpix P510. 

Honestly, the camera photos are FAR BETTER, and I can tell a difference, however it really doesn't matter what equipment you use to take your photos as long as it is well lit, in focus and has a thought-through background (that means there is 100% chance there wont be dirty undies or a crumb from your toast in the frame!!!) 


2.          WHITEN THE BACKGROUND


Next I use the AirBrush App to whiten the background of my images. 


This app's intended use is to edit/photoshop how you look, hence the whitening tool is meant for your teeth, however I am quite against that whole idea, and instead use it as a way to enhance my images background..... multitalented amiright! 


3.          ADD THE FILTER 


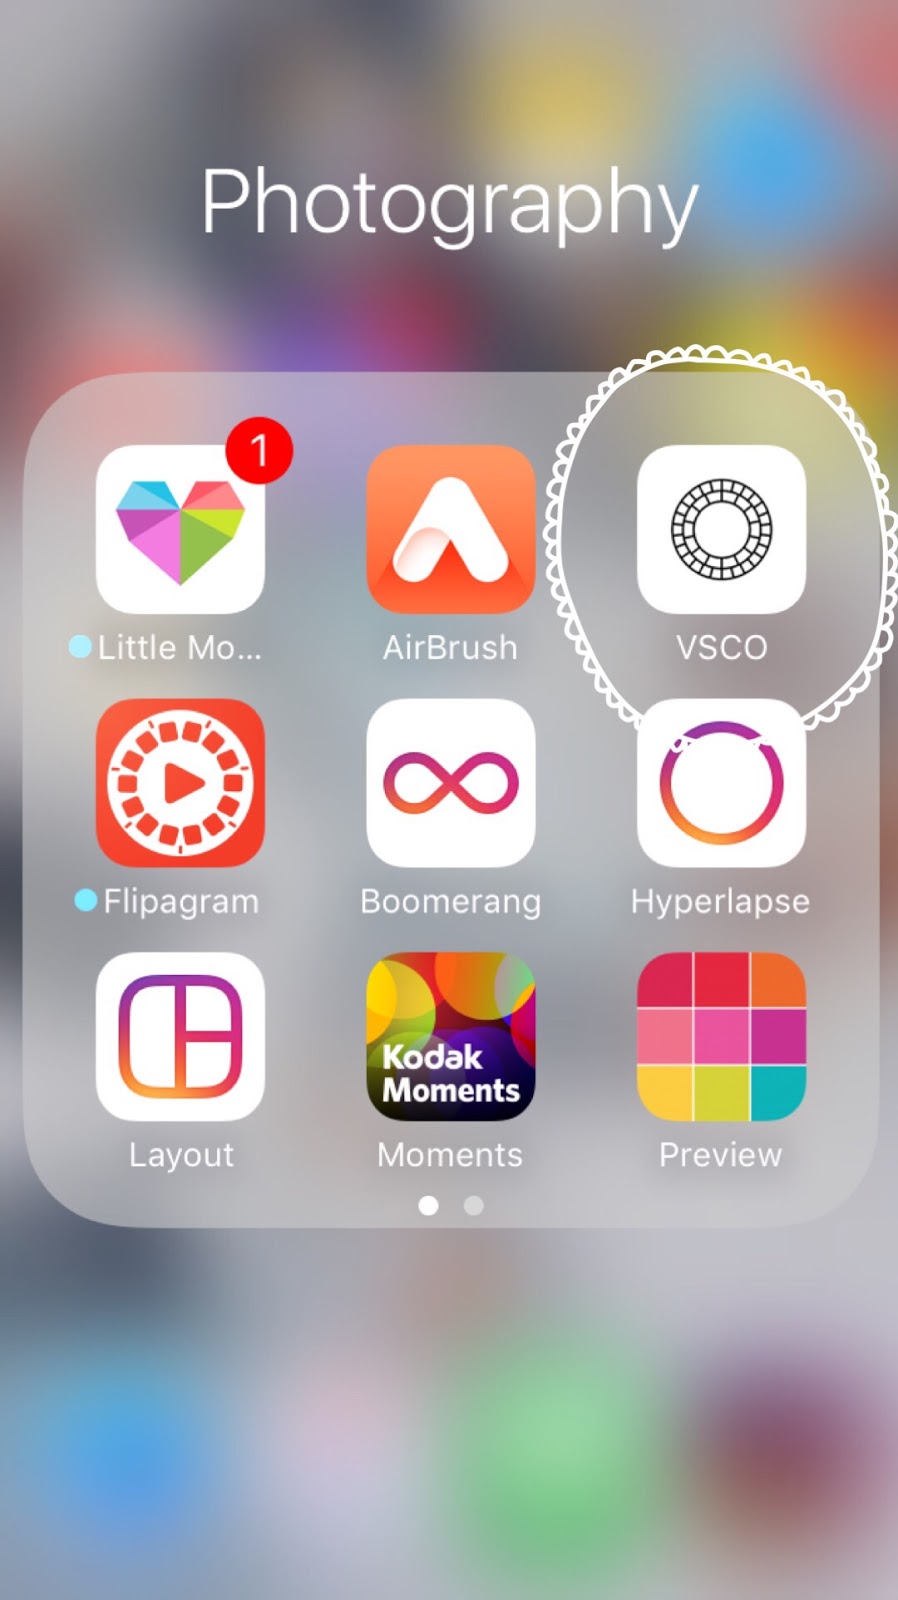
Next I open the VSCO app (and like all other instagrammers, I LOVE THIS!!), and always head towards my FAVE filter.......
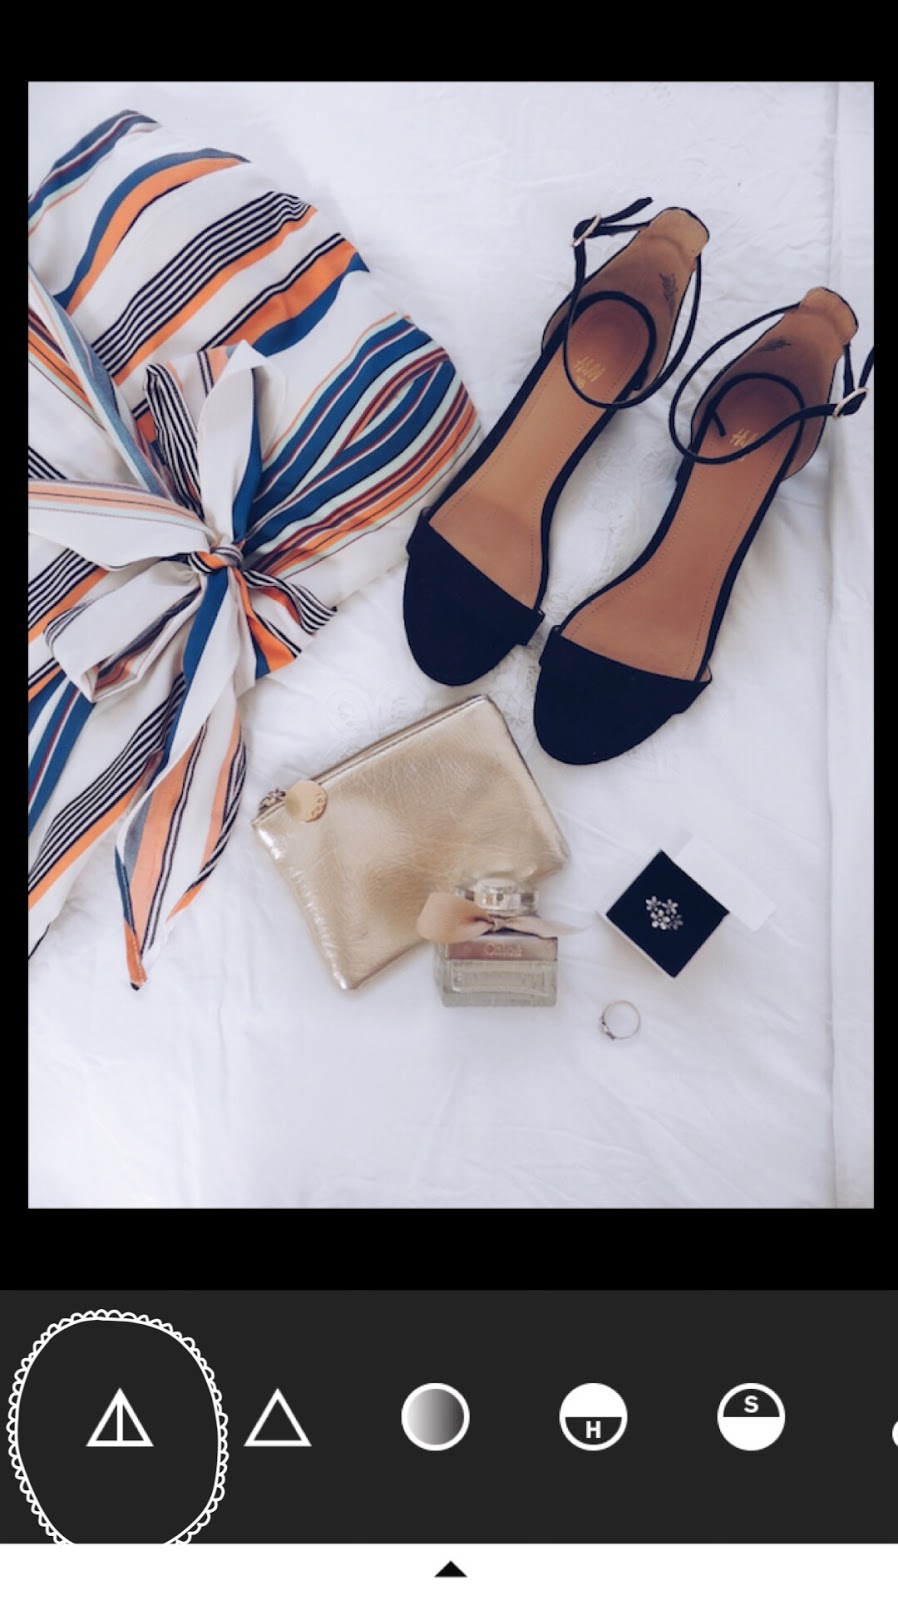

A5!!!!!

I normally keep it on full, however you can adjust the intensity of the filter by sliding the arrow. 
Its all up to you! 


4.          EDIT THE EXPOSURE AND CLARITY 


Next I up the exposure/brightness to around 1.0-1.5 (however it all depends on the original photo!) 


And sometimes I may add some clarity to the image by sharpening it ever so slightly (and I mean 0.3-0.5 max!)

5.          PLAN YOUR FEED


The final step before uploading is planning your instagram feed to make sure all the photos go together well... 

And once you have curated the look, you can click upload, add a caption and BAM! 

Your work here is done! 

Ella x
Share
Tweet
Pin
Share
No comments


Granola is life. 

It's pretty much that simple. 
So if you can save a shit tonne of cash, protect yourself from artificial flavours and excessive amounts of sugar, and have a bucketful of granola on hand for any meal or midnight cravings - why the hell wouldn't you?

Read on to make this dream a reality... 

WHAT YOU'LL NEED:


4 cups oats.
1 cup coconut flakes.
1 cup saltanas. 
1/2 cup tiger nuts. 
1/2 cup almonds.
1/2 cup teff grain. 
1/2 cup maple syrup. 

+ anything else you want in your god damn delicious granola. 


Bake that shit at 150 degrees for 10 mins.

Or until you hit your desired crunchiness. 


Top your smoothie bowls, eat with your plant milk, take the handfuls from the jar... 

the options for granola are endless. 


Happy granola eating and netflixing. 

Ella x


Share
Tweet
Pin
Share
No comments


Out of all the social media platforms, Instagram is by far my favourite! 

Not only is it Instant, hence the name...

But it creates a community where people can interact with like minded creatives and find inspiration from people in their own part of the world, or in a completely different and exciting country... 

Since starting my Insta I have come up with a few tips and tricks that helped me gain somewhat of a following, and that continue to make my time on the 'gram easy, fun and engaging! 

So if you are new to the world of instagram, or a insta-celeb who wants to find out some more ideas, keep on reading... 


1.          PICK AN EASY TO REMEMBER USERNAME


As much as you may want your username to include your first, middle and last (hyphenated) name - so that it ends up looking something like this: @ ella_rose_mander-jones, that isnt very appealing. 

Whilst we are on the topic, @ 108ellamj, @ sexy_mj, and @ e114mj are all examples of usernames that are not really that awesome. 

If you want to go with your name, try it as a full word (@ ellarosemj), or maybe break it up with one underscore (@ ella_mj). 

Maybe you want another name like I have (@pompomwilderness).

Or you can add your name into a phrase (@ iamella, @ loveella, @ missellarose)

Whatever way you go, make sure its easy to read and easy to remember! 


2.          CHOOSE A PROFILE PIC REFLECTING YOUR FEED


Yes, whilst you may look super hot in that party photo with dark lighting and full cleavage, if your instagram feed doesn't reflect your instagram profile picture, people will most likely not click on your account, or be disappointed when they expect one thing (dark, party photos), and then are welcomed by pastel pics of roses and sparkly dresses.... see the problem here? 

That doesn't mean your profile pic cant be of you looking gorgeous! Just make sure the filter, lighting and pose all reflect the sorts of images you are uploading in order to attract your intended audience! 


3.          ACTUALLY WRITE A BIO


I know, it may be annoying but there is really no way aorund it. 
Link your blog / youtube / facebook and get typing! 

Keep it short and sweet, entice people into your 'brand' but keep it real! 
My bio is a constant love-hate relationship, and I am always changing it, but as of now this is mine! 
Take some time to curate your own too... 


4.          KEEP TABS OF POPULAR HASHTAGS 


Although cringy, hashtags do work a treat! 

I keep a list of my most popular hashtags in notes on my phone, so that when I upload I can go and copy & paste them into the comment section of my photo (make sure that your hashtags reflect your photo though, or add in some more specific ones before commenting)... done! 


5.          FOLLOW PEOPLE IN THE SAME BOAT AS YOU 

I love to follow people who have a similar following as me, not only because its great to support thos ein the same boat as you, but it can make forming relationships with these people and starting collabs a whole lot easier! 


6.          ACTUALLY TALK TO THESE PEOPLE

And this is where the above tip comes into play... don't just follow them and then become a ghost follower, actually comment on their photos, like them and reply to comments they have left on your feed... the more of a community you can create the better (plus its heaps more fun to make friends than not!) 


7.          REACH OUT TO BRANDS / INSTAGRAMMERS 

This is a tricky one because it doesn't really work unless you have a fair amount of followers (3000+). But there is really no harm in reaching out to your favourite brands and instagrammers, biting the bullet and just flat out asking if they are interested in doing a collaboration...

from experience, this works a treat, and if you really know their style and believe you would work well within their marketing campaign, they often say yes! 

(On this note, I am always up for collabs with instagrammers, so if you'd like to work together send me an email at ella_manderjones@yahoo.com.au, or a DM on instagram!) 


8.          TAG, TAG, TAG 


If you are showcasing a bag from H&M, tag them! Using Urban Decay makeup, tag them! Using Kiki K stationary, tag them! 

Not only does it make life for your followers a whole lot easier, as they too can find the pieces you are raving about, but it also gets your name out there and interacting with brands that you genuinely love! 

Who knows, they might like what they see and want to work with you in the future! 


9.          ADD A GEO-TAG 


Whenever I go to a new cafe, browse a new boutique or head to a new part of the city, I check out its geotag on instagram, and by doing so I come across some pretty awesome feeds!

Again, this is just another way to increase engagement, but it really does work well! 


10.          CONSISTENCY IS KEEEEYYYYY! 

Noo, this doesnt mean upload every hour of the day, or even every two hours of the day, but do make sure you upload at least once a day (max 3 times), and experiment a bit to find out the best upload times for your following. 

For me I try to upload just as I wake up (which often means writing my caption, and having my photo ready the night before!!), and then again just before dinner time... but it changes daily and works different for different accounts, so find out what times work best for you! 


I hopw this has been some what informative, and incase you havent followed me yet, heres a cheeky little link to my feed click here lovely people!

Have a great day! 

Ella x
Share
Tweet
Pin
Share
1 comments


 Hello Lovers...


Autumn in officially upon us - and therefore its time to dust off that burgundy lippy, bring out the vintage sequin top brought at the markets and apply the bronzey eye makeup... 


Heres to more frequent uploads and lots more exciting things to come! 


Full list of items used below. 


Ella x


Foundation / Concealer / Powder - DB Cosmetics
Eyeshadow - Urban Decay 
Mascara - Maybelline
Bronzer - Zoeva
Lipstick - Bobbi Brown (Brown 4)


Share
Tweet
Pin
Share
2 comments

About Me

About Me
Hey Lovely People, I'm Ella Rose, an 18 year old Sydney girl whose interests include (but are not limited to) cropped faux leather jackets, leopard print heels, mushroom soup and the hussle and bussle of city life. Join me on an adventure full of plant food, fashion affairs and life as an 'almost-adult-but-still-kinda-a-child' Sydney-sider... See you around. Ella x

Follow Me

  • Instagram

Labels

  • Bobbi Brown
  • breakfast
  • Editing
  • How-to
  • Instagram
  • Makeup
  • Photography
  • Recipes
  • Spring
  • vegan

recent posts

Collab?

Send me an email at: ella_manderjones@yahoo.com.au

Blog Archive

  • ▼  2017 (4)
    • ▼  March (4)
      • HOW I EDIT MY INSTAGRAM PHOTOS IN 5 STEPS
      • HOME MADE VEGAN GRANOLA
      • TOP 10 INSTAGRAM TRICKS
      • SPRING MAKEUP LOOK

Created with by BeautyTemplates| Distributed By Gooyaabi Templates